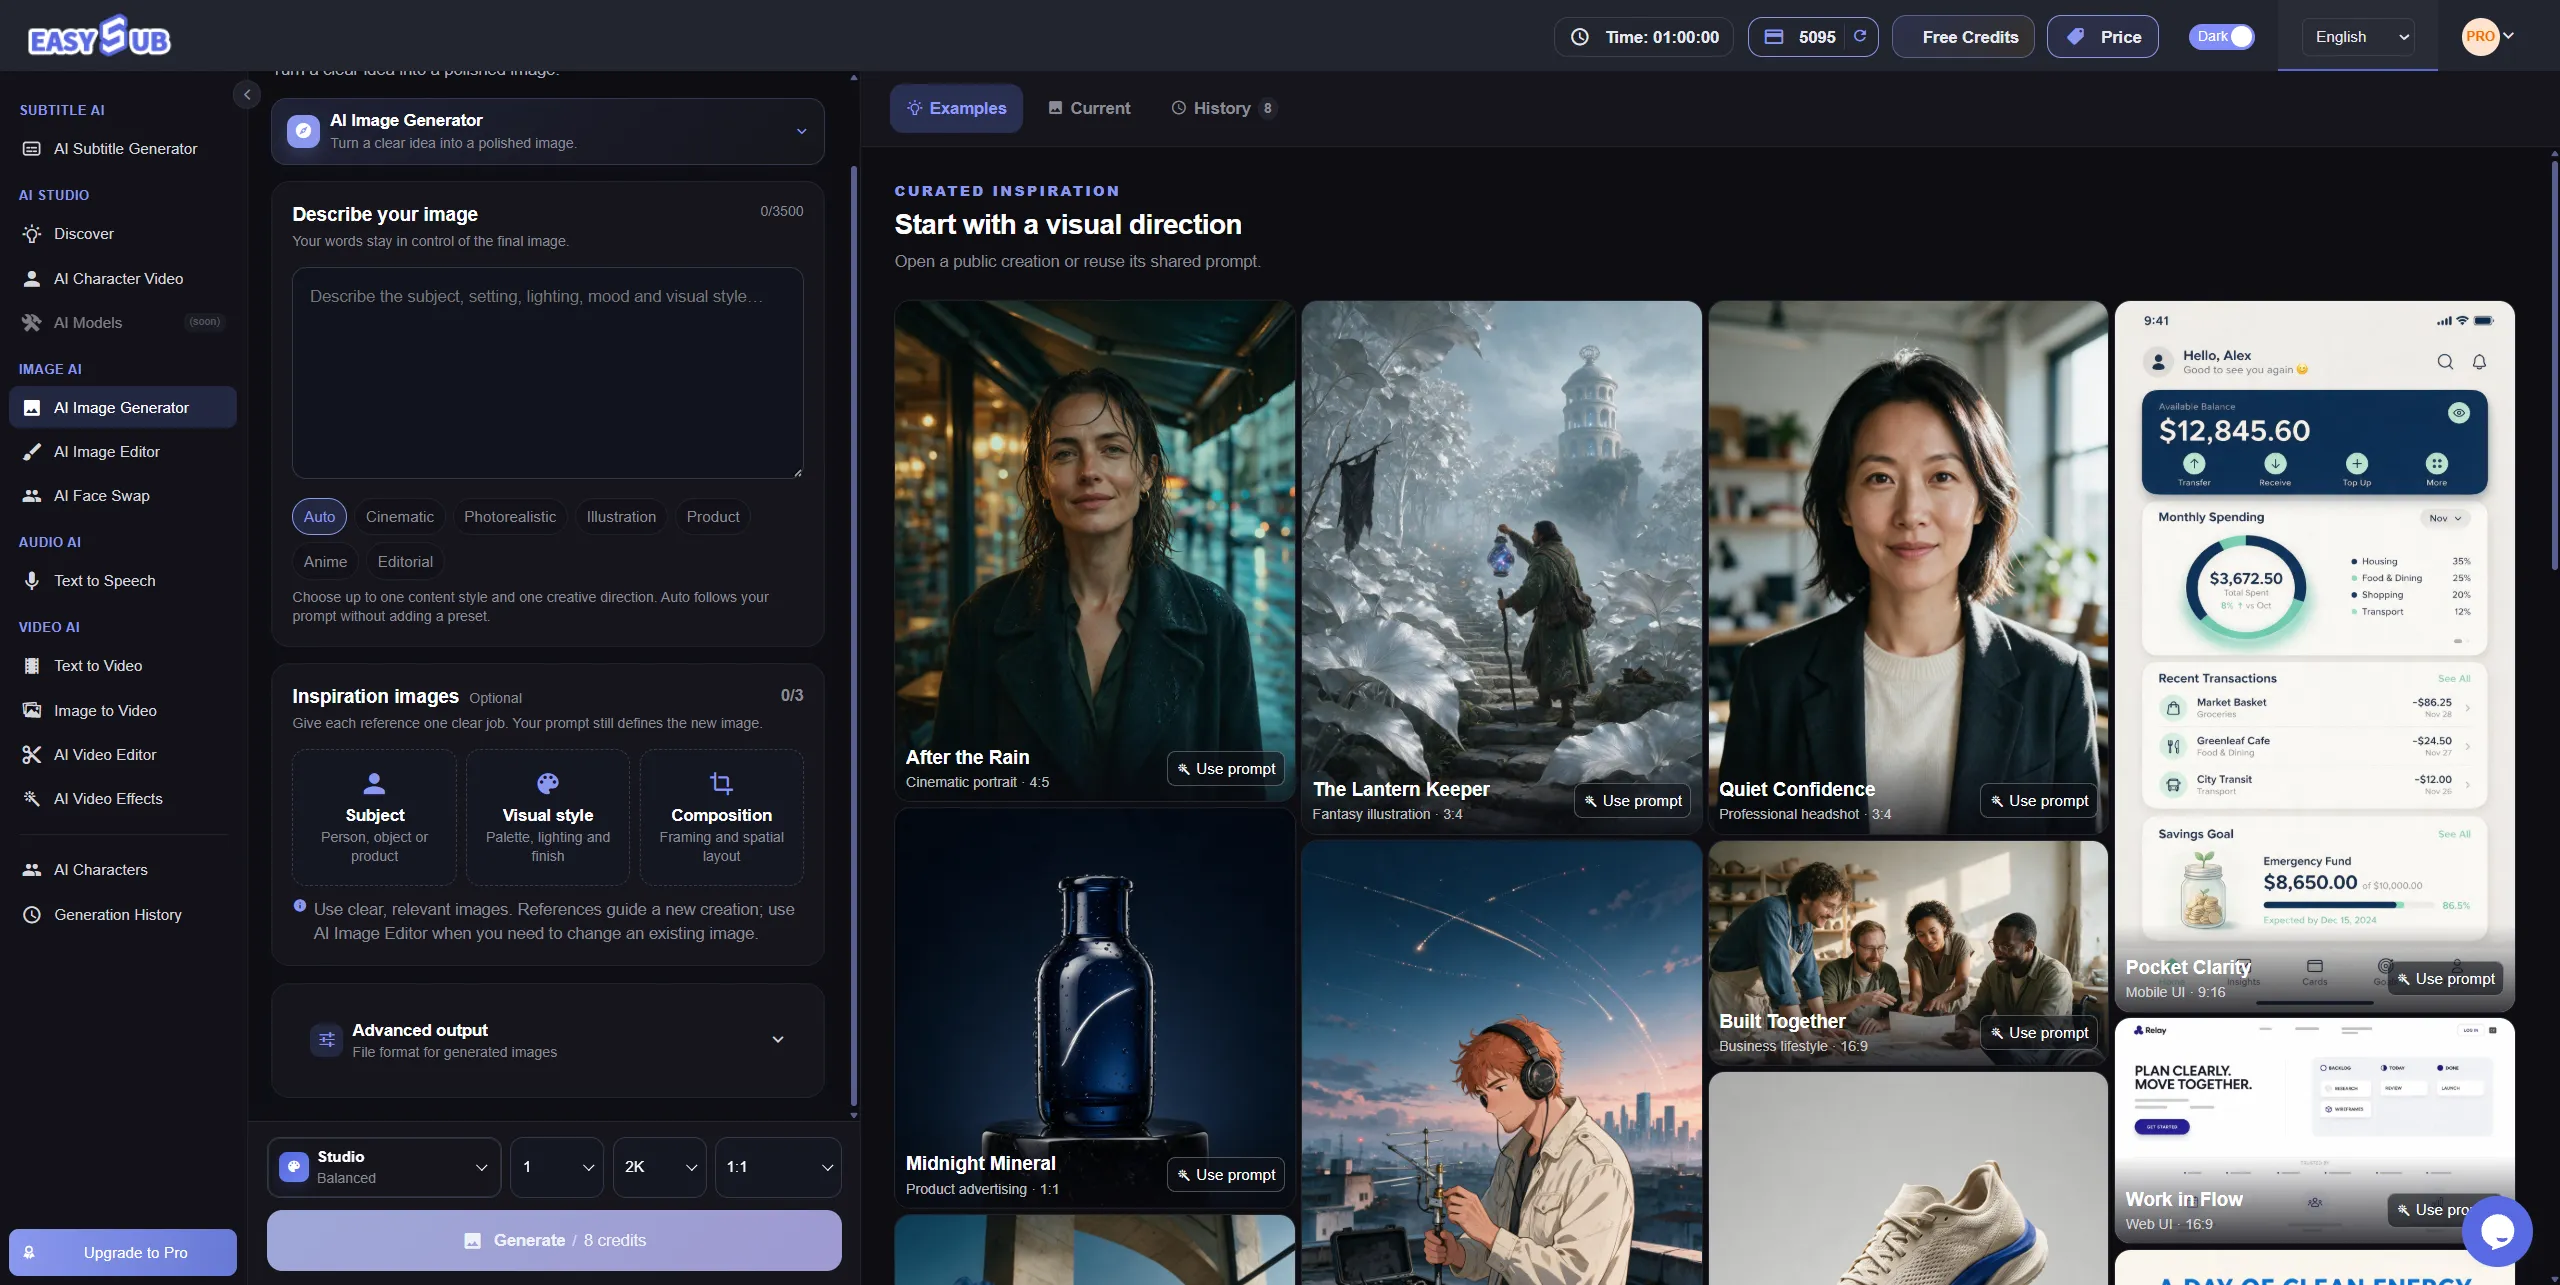
AI Image Generator — Turn Your Ideas into Images
Turn your ideas into thumbnails, illustrations, and visual drafts with EasySub’s AI image generator.
Use the EasySub AI image generator to turn your text descriptions into image drafts. Whether you need thumbnail concepts or original illustrations, you can start by describing your ideas, then view the results and make adjustments step by step.
Start with a Text Prompt
Describe the subject, scene, and style you want to give the image a clear direction.Guide with a Reference
If the selected model supports reference images, you can add a picture to help convey your visual ideas.Choose Your Aspect Ratio
Based on your project’s purpose, select the appropriate size from the available aspect ratios to plan your composition in advance.
See What Text to Image AI Can Create
With text-to-image AI, you can turn text descriptions into product visual concepts, illustrations, and storyboards. Check out the three sets of prompts below to learn how to convey the subject, lighting, and composition, and find the creative direction that works best for your project.
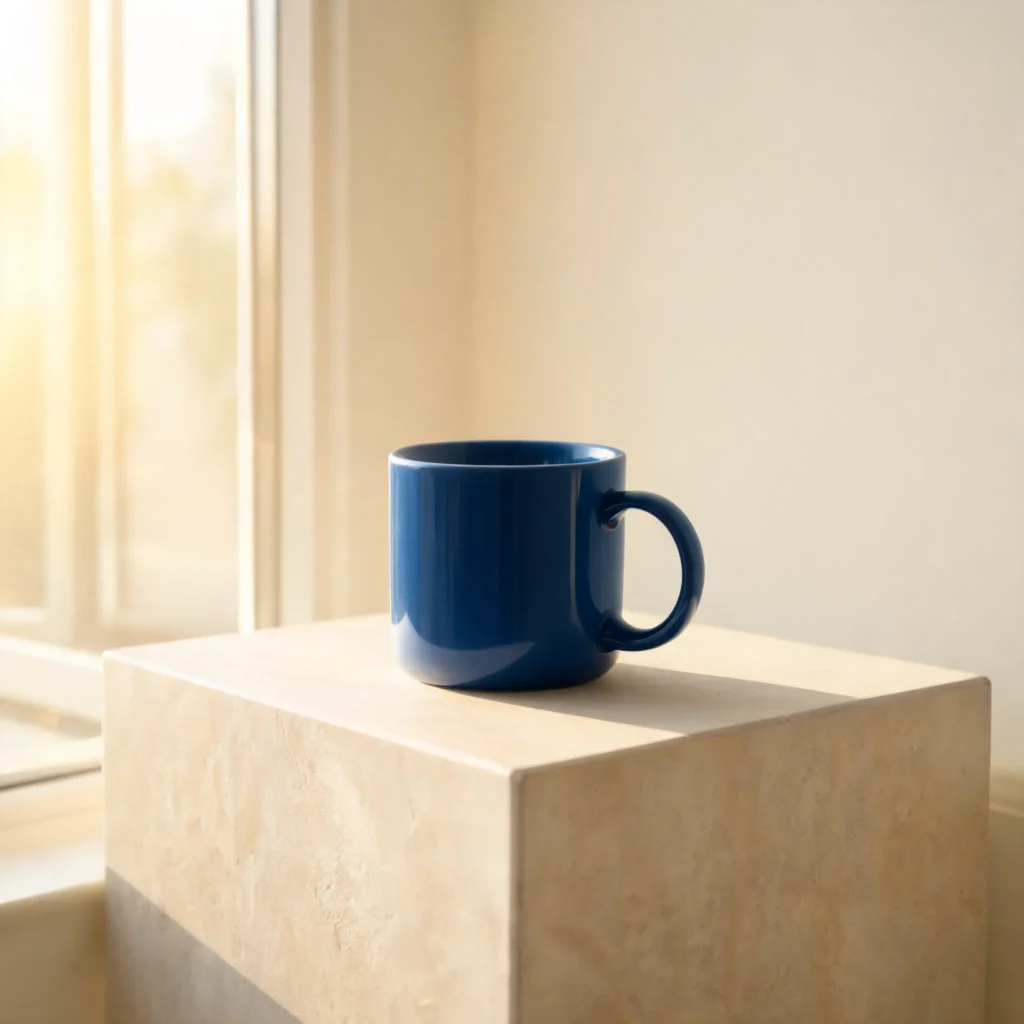
Ceramic Mug Concept
Start by exploring the lighting and composition of your product shots. A blue ceramic cup paired with a light-colored stone surface and soft light streaming in from the window provides a great setting for discussing the background, angle, and negative space before you begin your official shoot.
A cobalt-blue ceramic mug on a pale stone plinth beside a large window. Soft morning light from the left, a warm cream background, and a subtle shadow. Show the whole mug and handle in a clean three-quarter view, with balanced negative space. Photorealistic product concept, no logos, no text.
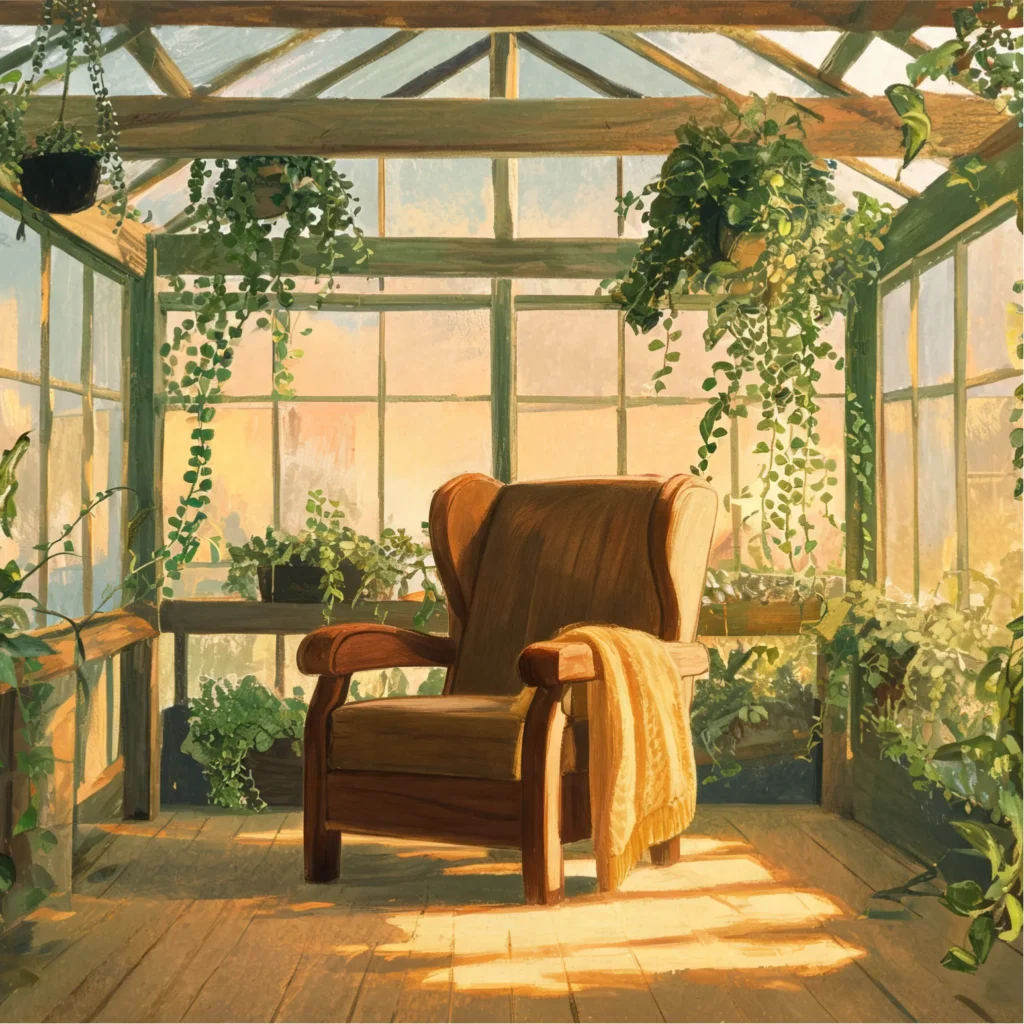
Botanical Reading Room
Explore illustration concepts for your article. Use an AI art generator to depict a greenhouse, plants, and warm lighting, and experiment with a watercolor texture. Leave space for the title to make formatting easier later.
An editorial illustration of a quiet reading room inside a greenhouse, with trailing plants, a wooden reading chair, and amber evening light. Use textured gouache, a muted green and ochre palette, and a clear central focal point. Leave open space for an editorial heading added later. No lettering.
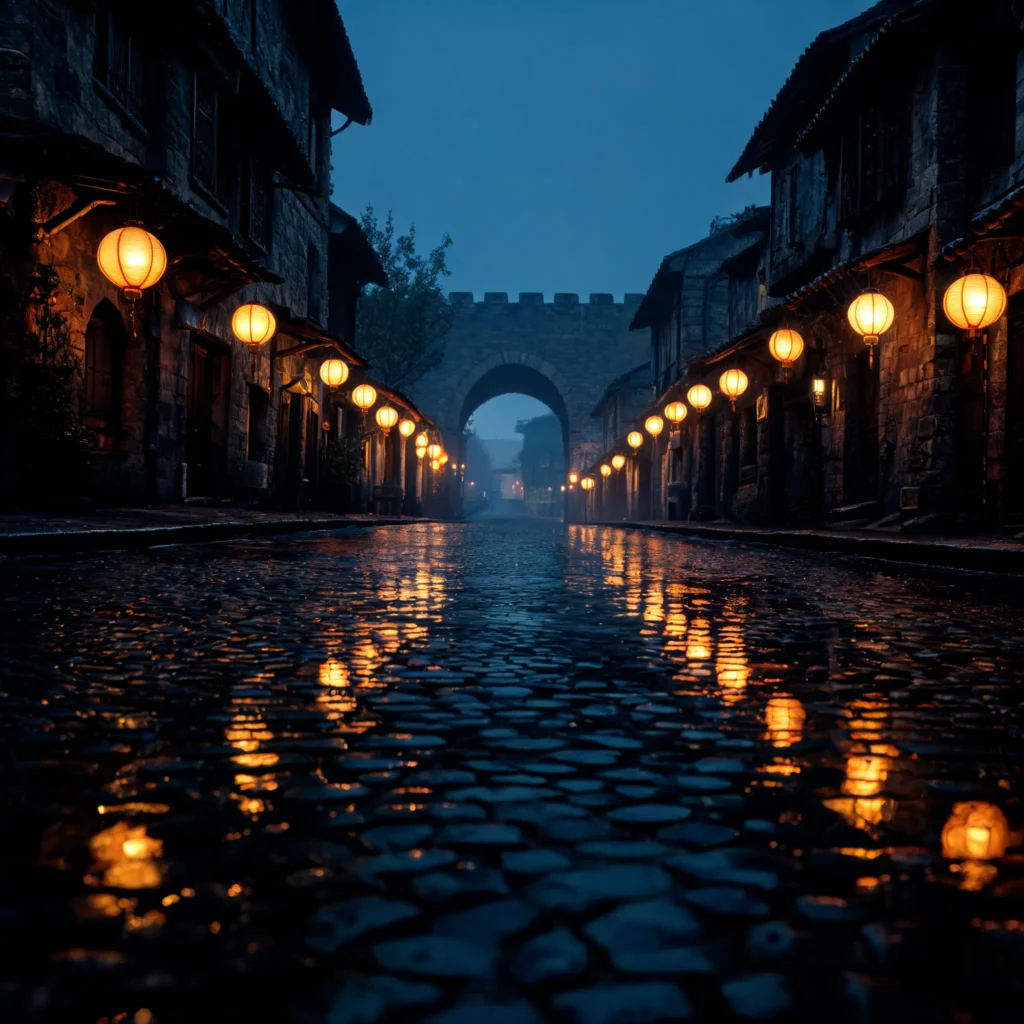
Lantern Street Storyboard
Create a clear sense of spatial depth in your story scenes. A stone path after the rain, warm-colored lanterns, and an archway in the distance work together to establish depth, making this a great visual direction for storyboards or vertical-format covers.
A quiet cobblestone street just after rain, with warm paper lanterns and soft reflections leading toward a distant archway. Eye-level composition with a clear foreground, midground, and background. A cinematic concept-art still in deep blue and amber. No readable signs, no logos.
How to Generate Images with AI
You can generate AI images in three steps: clearly describe the scene, select settings and confirm the credit quote, then review the results and adjust the prompt.
01 — Describe the Image
Log in to EasySub and describe the scene you want in the prompt input box. We recommend clearly specifying five elements: subject, setting, composition, lighting, and style.
For example, instead of simply writing “a cup,” you could enter: A cobalt-blue ceramic cup placed on a light-colored stone surface. Soft morning light streams in through the window on the left, against an off-white background. Show the entire cup and handle from a three-quarter angle, leaving space on the right. Realistic style, no text or logos.
If the selected model supports reference images, you can also add a picture to help convey colors, shapes, or visual styles.
02 — Choose Your Settings
Based on the image’s intended use, select an aspect ratio from the currently available options:
- Product concept art: Choose a square aspect ratio to focus on the subject.
- Article illustration: Choose a landscape aspect ratio to leave space for the scene and headline.
- Vertical Cover: Choose a vertical aspect ratio to adapt the subject to a vertical composition.
After reviewing the prompt and settings, check the AI Credits required for this request. Confirm that the credit usage meets your expectations before submitting the request.
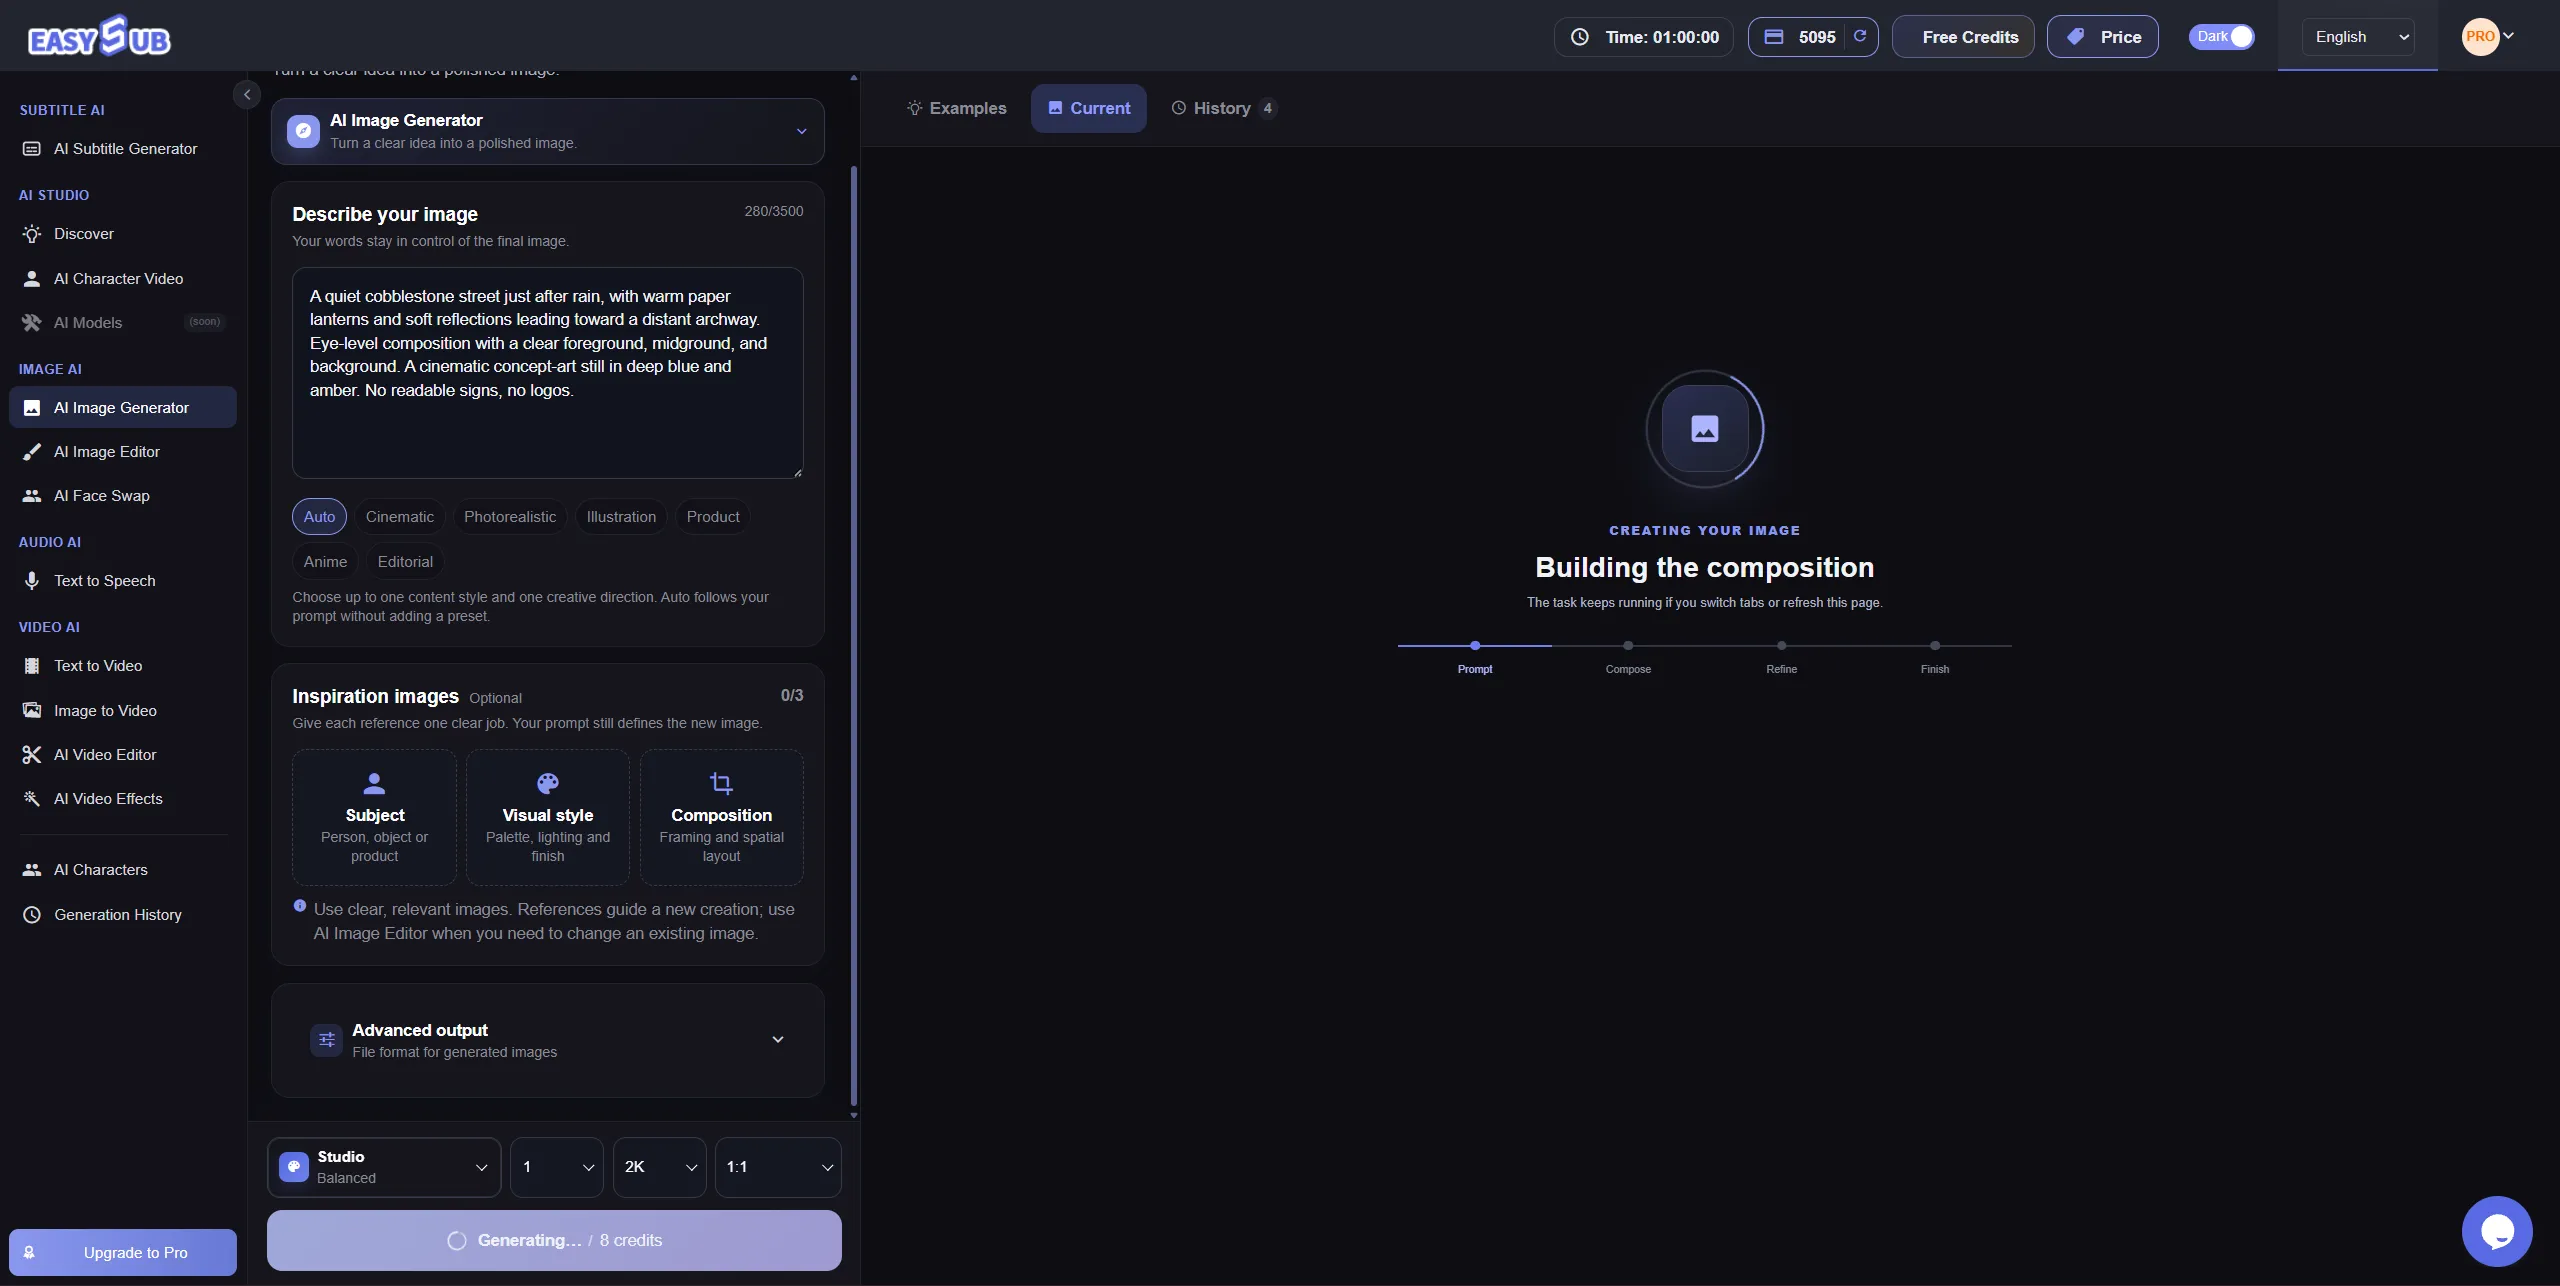
03 — Generate and Review
After generation, compare the results to the prompt to check the subject, composition, and details. Take a ceramic mug as an example: Are the body and handle complete? Is the light coming from the left? Is there enough space on the right?
If the result needs adjustment, it’s recommended to modify one key element at a time. For example, change “off-white background” in the original prompt to “light gray background,” then compare the two results.
After modifying the prompt or settings, review the credit estimate again before generating the next version.
Guide a New Image with a Reference
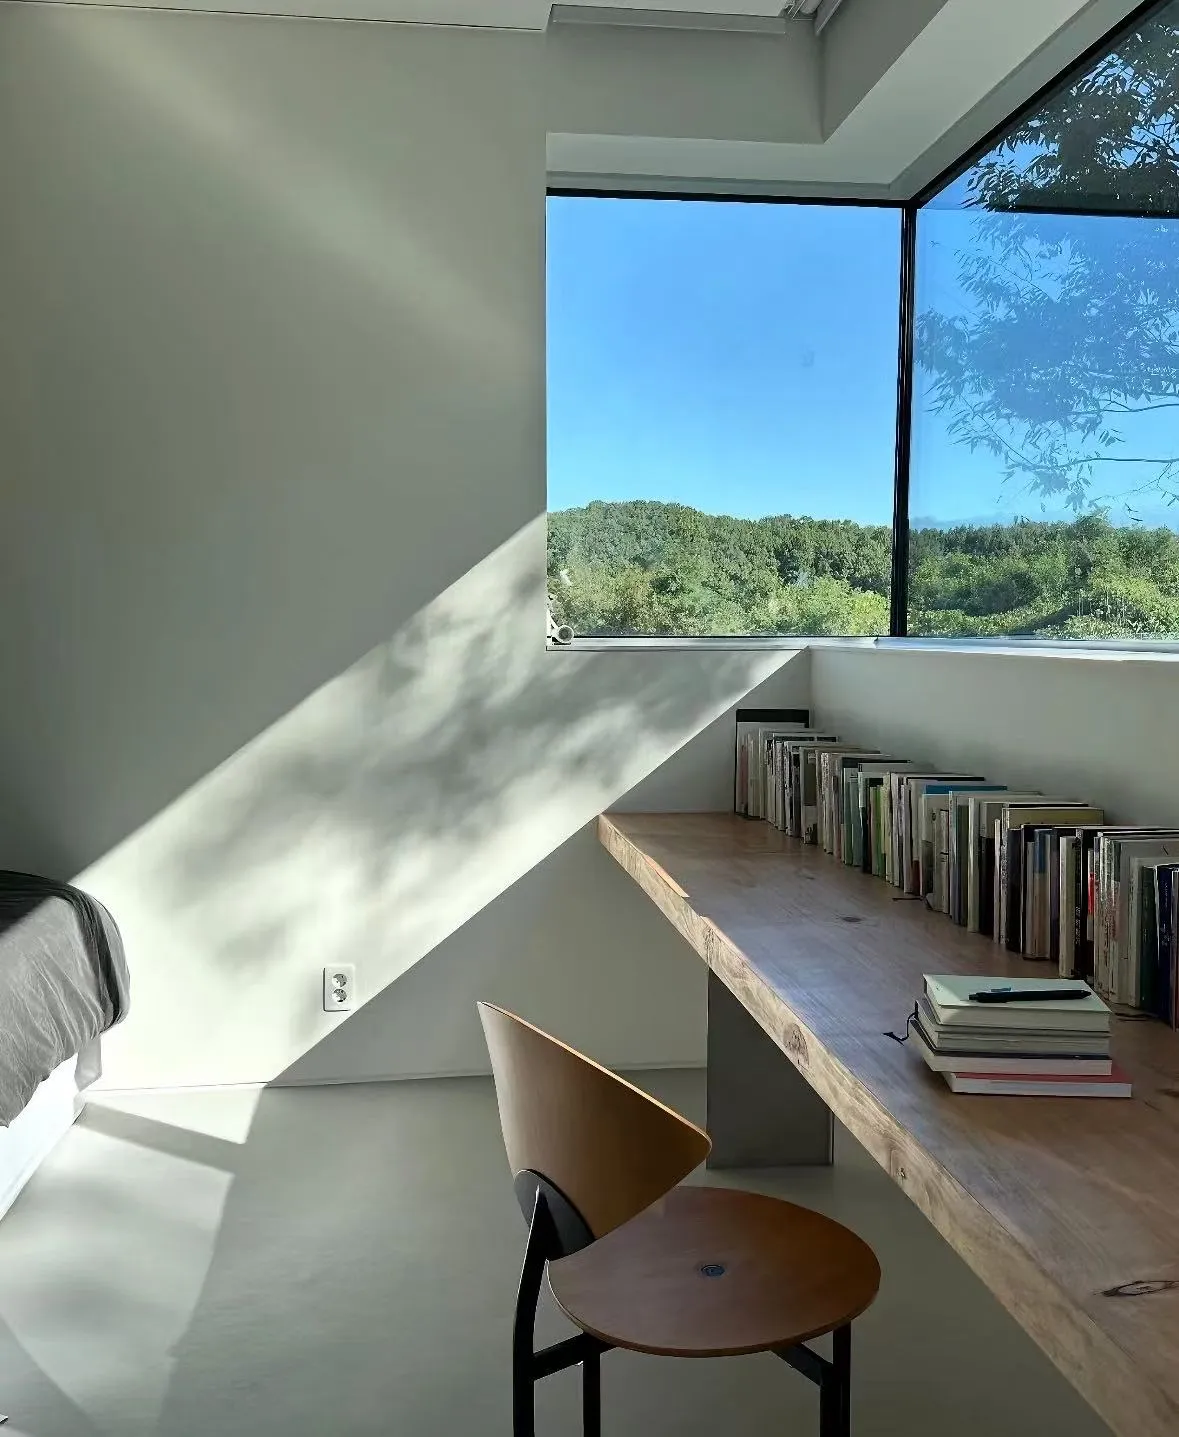
When you find it difficult to describe your preferred color scheme and atmosphere in words, you can add reference images to help convey your creative vision. For example, use a photo of a room as a reference to design a reading nook by the window for your new artwork.
Tell the AI What to Follow
Upload an interior photo that you created or have the right to use, and clearly specify the following requirements:
- Reference Features: Beige, light wood tones, and low-saturation green, along with natural, soft lighting.
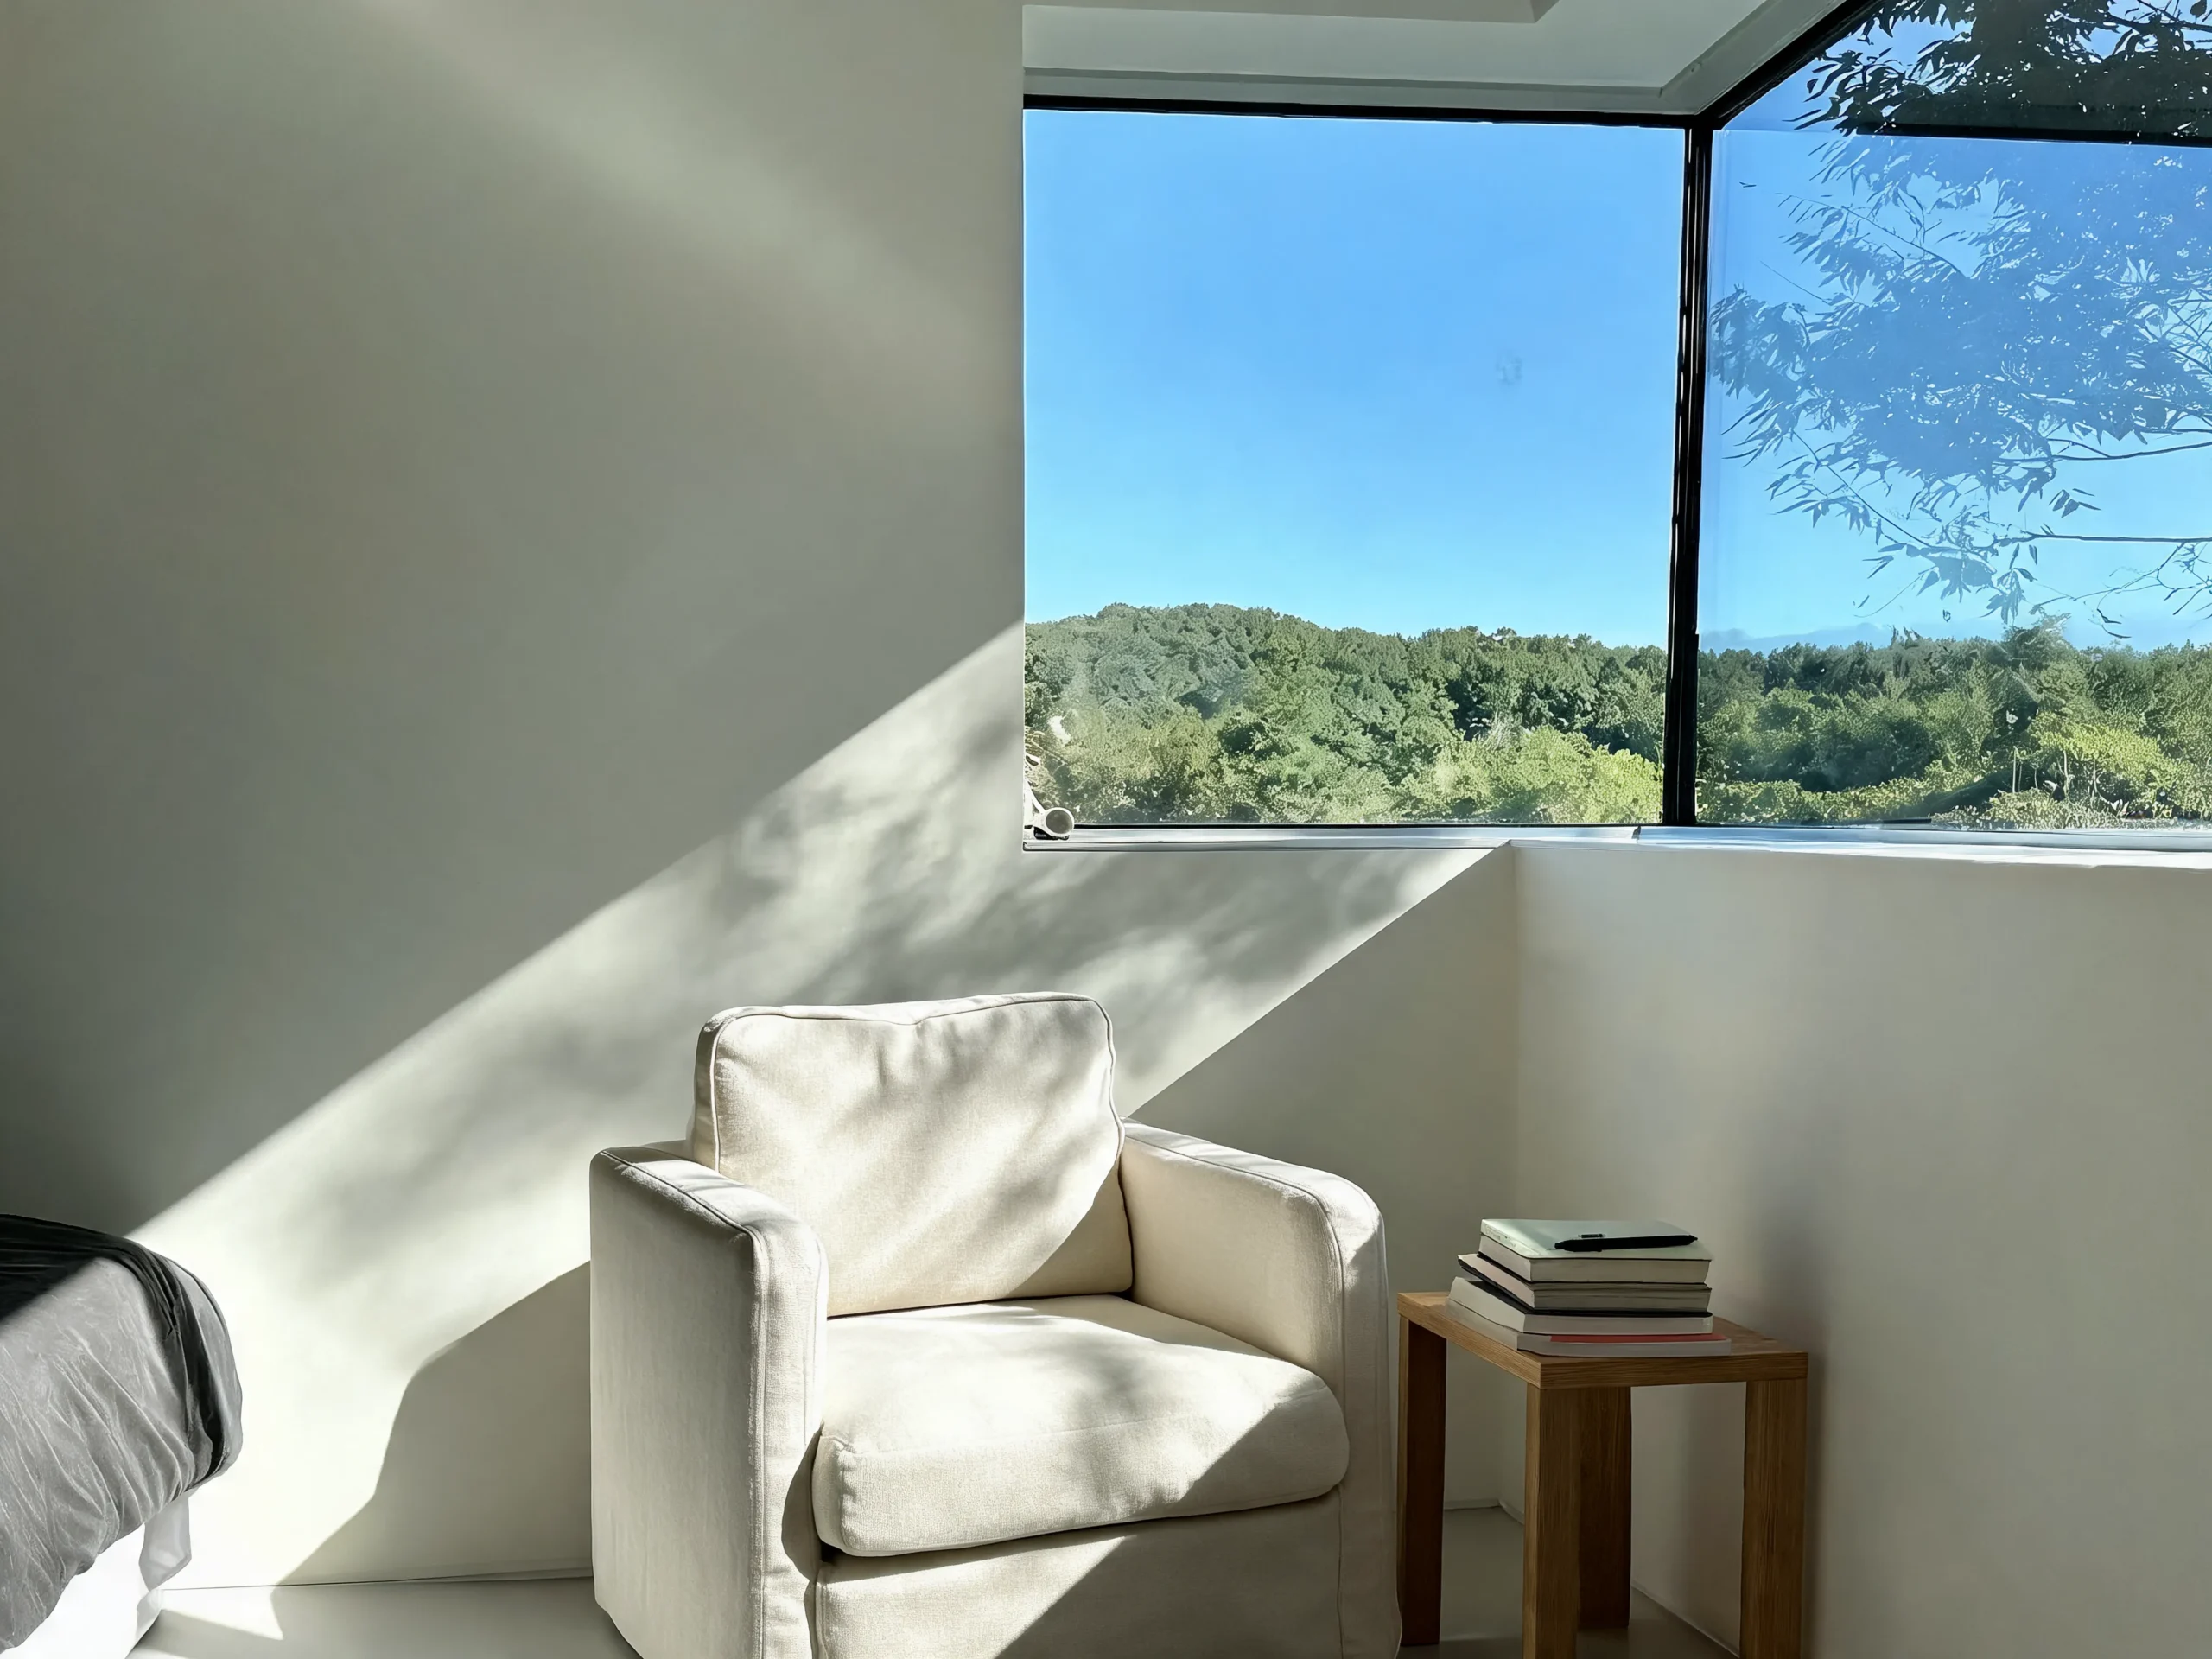
- New Scene: A window-side reading nook featuring an armchair, a small side table, and a few books.
- Composition Requirements: Position the reading chair as the visual focal point; minimize clutter; and leave space in the upper-left corner to allow for adding a title later.
Clearly specifying which elements to reference and which to redesign makes it easier to convey your ideas than simply writing “Generate a similar image.”
Try This Reference Prompt
Use the attached interior photo as a visual reference for its cream, light wood, and muted green palette, along with its soft natural lighting. Create a new window-side reading nook with an upholstered armchair, a small wooden side table, and a few books. Make the chair the focal point. Keep the space uncluttered and leave negative space in the upper left for a title added later. No text or logos.
The reference image is used to guide the visual direction. The furniture designs, spatial layout, and details in the new image may vary. The available reference options depend on the generation mode you select.
Choose an Aspect Ratio for Your Image
Select an aspect ratio based on where the image will be displayed, then arrange the subject and negative space. A square format is ideal for highlighting the subject, a portrait orientation provides vertical space, and a landscape orientation is suitable for capturing a scene or including a title. Deciding on the aspect ratio before generating the image will help you plan your composition in advance.
Square Image — Keep the Subject in Focus
If you’re creating a square post or product concept art, place the blue ceramic mug in the center of the frame. Leave balanced space around it so that the body and handle of the mug are fully visible.
Add the following to the end of your prompt:
Center the mug with balanced space around the subject.
Portrait Image — Leave Space Above
If you’re creating a vertical cover image or illustration, place the mug in the lower half of the frame. Keep the top portion clean so you can add a title later, minimizing the risk of text obscuring the subject.
Add the following to the end of your prompt:
Place the mug in the lower half, with clear space above for a title added later.
Landscape Image — Make Room for Your Message
If you’re creating a banner, thumbnail, or video thumbnail, place the mug in the right third of the frame. Leave clean negative space on the left for adding a title or caption later.
Add the following to the end of your prompt:
Place the mug in the right third and leave clean negative space on the left.
Create Visuals for Content, Art, and Video
You can use an AI art generator to create visual drafts for video covers, article illustrations, and product concepts. First, clarify the purpose of the image, then describe the subject, style, and composition to make the generated results easier to layout and edit later.
Thumbnails and Covers
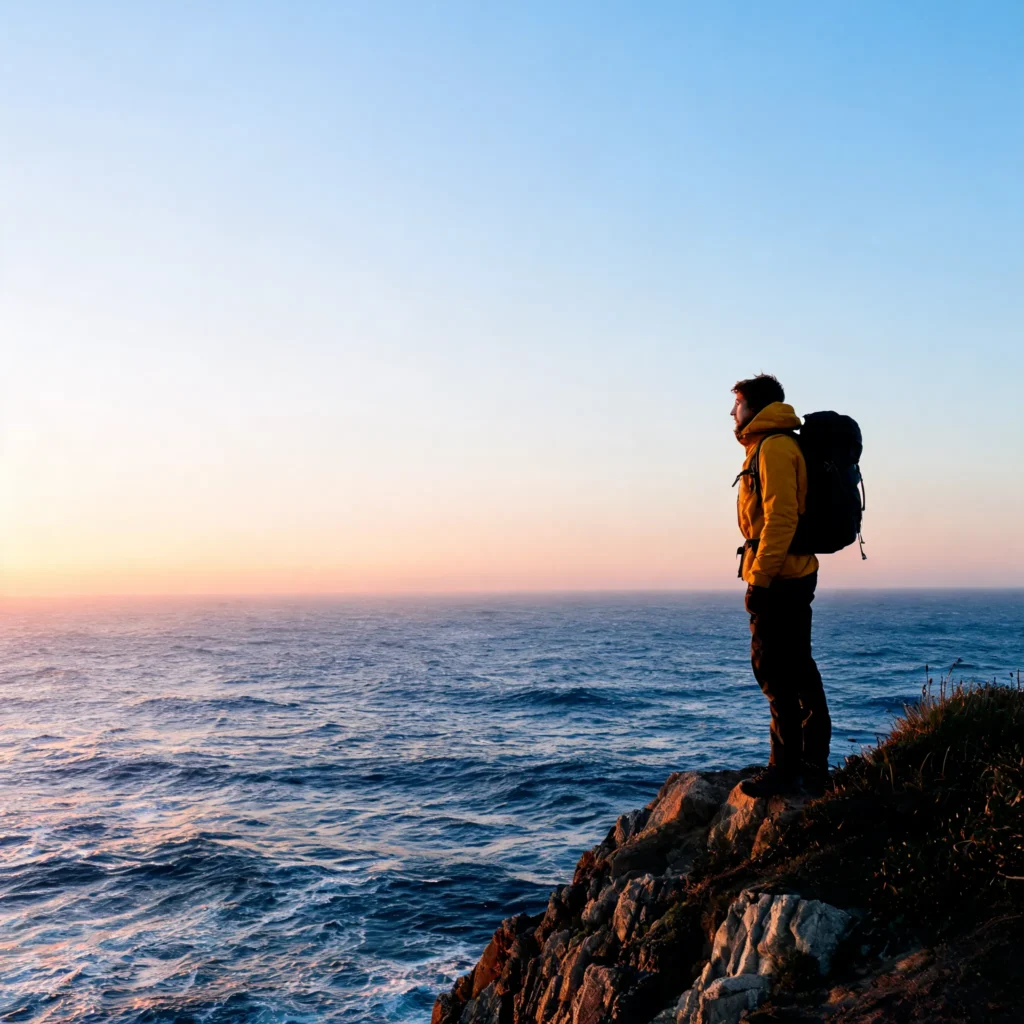
Include a clear visual focal point in your thumbnails or covers, and leave space for the title. For example, for a travel video cover, you could place a backpacker on the right and keep the left side as a simple sky background.
Key Prompt Elements: Subject placement, background simplicity, and white space for the title. It’s recommended to add the exact title text during the layout process.
Illustrations and Concept Art
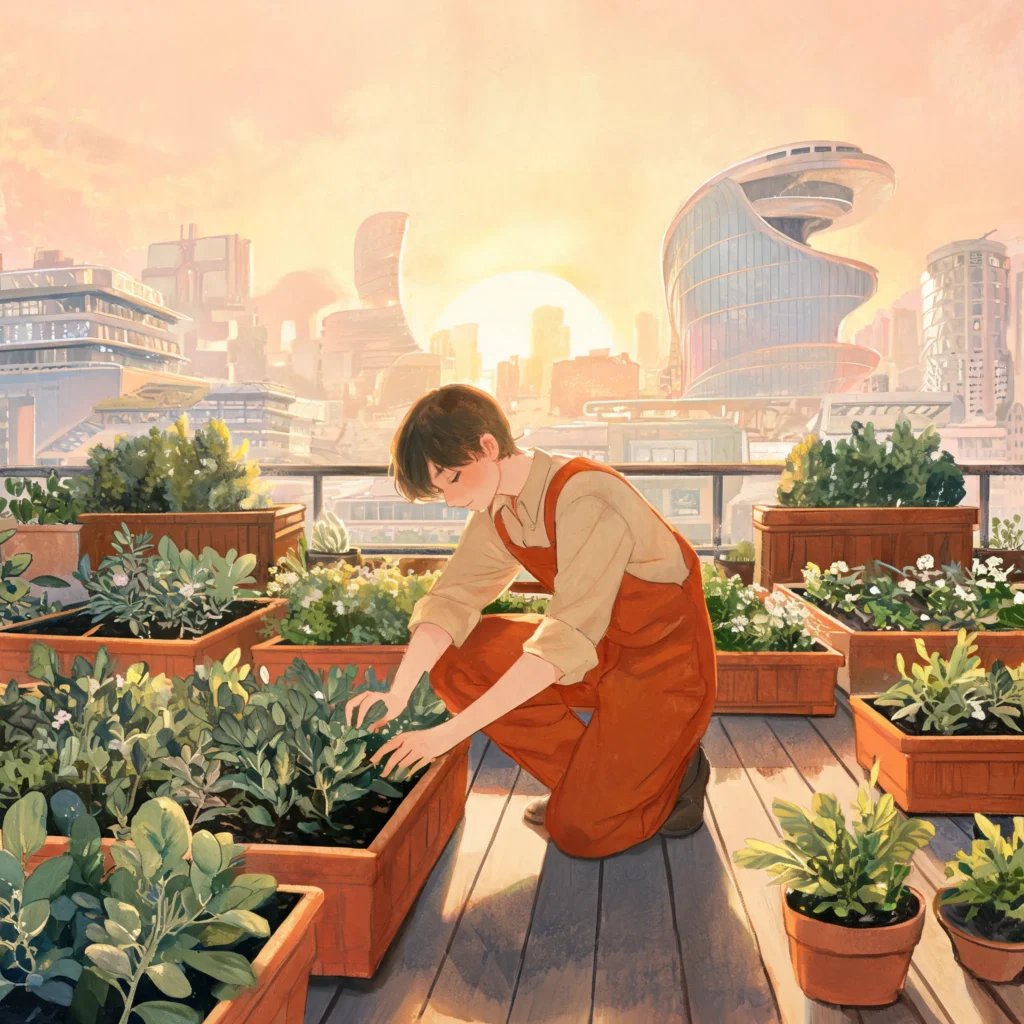
Explore color palettes and visual styles for your articles, storyboards, or art projects. For example, describe “a rooftop garden in a futuristic city” as both a watercolor illustration and a film concept art piece to compare which style better suits the theme.
Key Prompt Elements: Scene content, artistic style, color schemes, and mood.
Product Visual Concepts
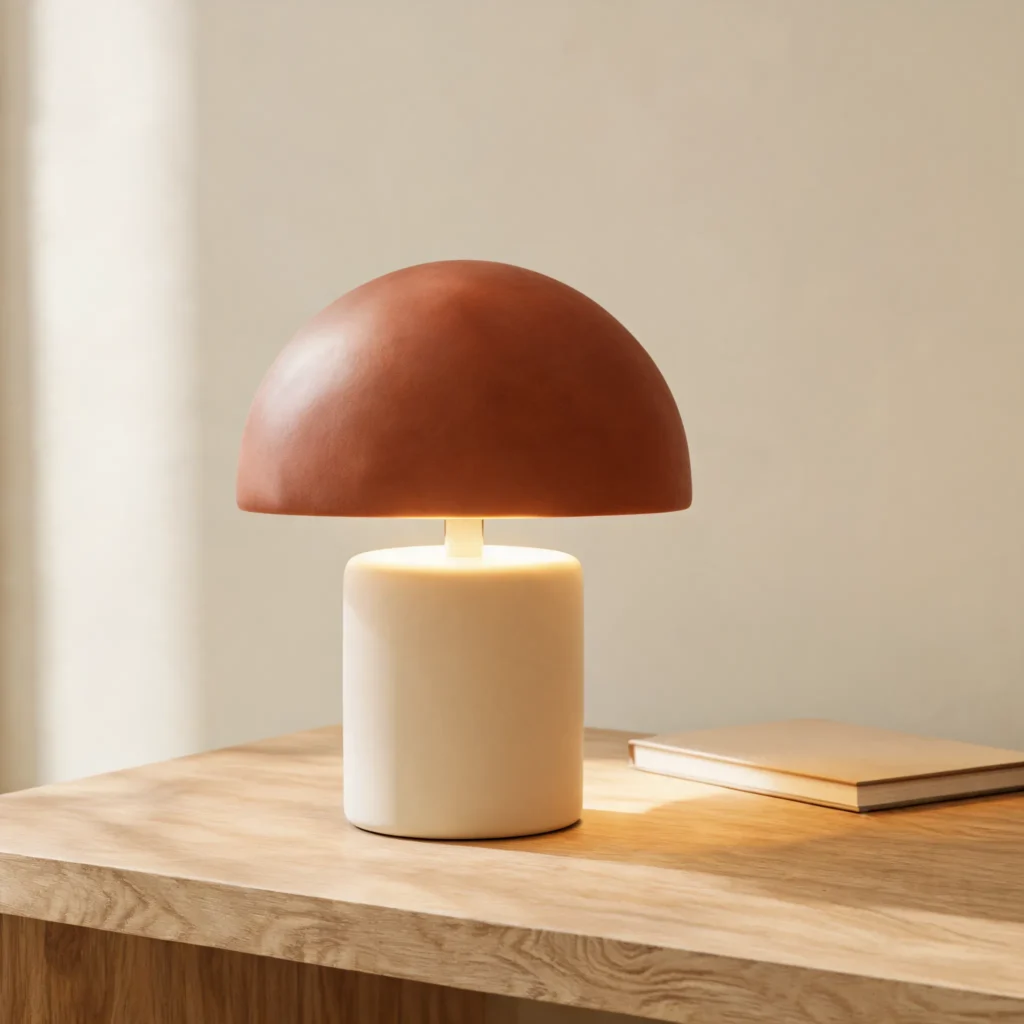
Before production or photography, explore presentation ideas for your original products. For example, when conceptualizing a desk lamp, try a warm-toned desk background, soft side lighting, and a close-up composition to help you discuss visual options.
Key Prompt Elements: Product appearance, material rendering, lighting direction, and shooting angle. Before starting a project, verify the styling, proportions, and key details.
Copy and Customize Your Prompt
Replace the content within the square brackets to create a prompt that includes usage and composition requirements:
Create [subject] in [setting]. Use [style] with [lighting and color palette].
Frame it as [composition], with space for [intended placement, if needed].
Preserve [important details] and avoid [unwanted elements].
Image Generation Settings and AI Credits
Image generation consumes AI Credits; the exact amount depends on the model and generation settings you select. Before each submission, please check the credit estimate displayed in the dashboard. Caption processing uses a separate duration quota.
Choose Your Generation Settings
| Einstellung | Available Options |
|---|---|
| Visual Style | Auto, Cinematic, Photorealistic, Illustration, Product, Anime, Editorial |
| Reference Images | Optional; up to 3 images displayed in the interface; used to guide the subject, visual style, and composition |
| Aspect Ratio | 1:1, 4:5, 3:4, 4:3, 3:2, 2:3, 16:9, 9:16 |
| Resolution | 1K, 2K, 4K resolution tiers |
| Variations | Choose 1, 2, or 4 generated versions per request |
| AI Credit Quote | View the credits required for the current request next to the generate button |
Resolution tiers and aspect ratios are two separate settings. Selecting 2K does not mean the image will be square; the actual pixel dimensions are determined by the generated file.
Review the Credits Before Generating
After changing the generation mode, resolution, number of images, or reference images, please review the quote again to confirm the points required for this request.
From an Image to a Captioned Video
You can use the generated image as the starting point for a standalone “image-to-video” project, then generate captions for the dialogue or narration in the video. Image generation, video production, and captioning are each handled in their respective tools.Image generation consumes AI Credits; the exact amount depends on the model and generation settings you select. Before each submission, please check the credit estimate displayed in the dashboard. Caption processing uses a separate duration quota.
01 — Generate a Still Image
First, generate an image that aligns with the story’s direction. Review the subject, composition, and details, and select the frame you want to use for the video.
02 — Animate It in Image to Video
Open Image to Video, add the image as instructed on the page, and describe the actions you want to appear. For example, have the camera slowly pan forward, or have the leaves in the frame sway gently.
03 — Add Subtitles to Spoken Audio
When your video contains dialogue or narration, use the subtitle tool to generate subtitles based on the audio. Check the recognized text, sentence breaks, and timeline to ensure the subtitles match the spoken content. Videos containing only music or ambient sound do not require dialogue subtitles.
AI Image Generator FAQs
What Is an AI Image Generator?
An AI image generator is a tool that creates new images based on text descriptions. You can specify the subject, scene, composition, lighting, and style, then view the results, adjust the prompt, and refine the image step by step.
How Do I Generate Images from Text?
Enter a description of the image you want in the workspace, select an available aspect ratio, resolution, and the number of images to generate. Confirm the AI Credits quote, submit your request, and then check whether the generated results meet your requirements.
Do I Need a Reference Image?
No, you don’t. You can start directly with a text prompt. If the selected mode supports reference images, you can also add an image to help convey the subject, color scheme, lighting, or composition, and specify which features you’d like to reference.
Can I Generate Square, Portrait, and Landscape Images?
Yes. In supported modes, you can choose square, portrait, or landscape aspect ratios, such as 1:1, 9:16, and 16:9. Please refer to the available aspect ratios for the current mode and check the subject placement and white space after generation.
Can I Use It as an AI Art Generator?
Yes. You can describe painting styles, colors, and scenes to explore illustrations, storyboards, or concept art. We recommend establishing a clear visual direction first, then making adjustments step by step so you can easily compare different versions.
How Is It Different from the AI Image Editor?
The AI Image Generator creates new images based on your description and can reference images when supported. The AI Image Editor, on the other hand, modifies existing images. If you want to adjust the content of an existing image, you should choose the image editing tool.
How Many AI Credits Does an Image Use?
The number of AI Credits required per request depends on the selected model and generation settings. Please check the quote displayed in the dashboard. After modifying settings or generating a new version, you should reconfirm the credit usage before submitting.
Can I Animate an Image and Add Subtitles?
Yes, but you’ll need to use the corresponding tools separately. First, create a video from a static image using “Image to Video.” When the video includes dialogue or narration, use the subtitle tool to generate subtitles based on the audio, and then review the text against the timeline.
Planning Visuals for a Larger Project?
Tell us what kind of images you want to create, the scenarios they’ll be used in, and the required dimensions and formats. If you already have a plan, please also specify the estimated number of images and the timeframe for use so we can better understand your project needs.
Start with a Prompt. Create Your First Image.
Write down your ideas as a prompt, choose an aspect ratio that suits your project, review the generation settings and AI Credits quote, and start creating your first image.